Query data, set loading, resolve or reject data, if rejected check for error, retry, show error message, if resolved, store the data... wish you could do all of this in one single step? Yes you can! Let’s explore a library called “ReactQuery”.
Querying data is not that hard right? Yes, we first render the component. We write the fetch method. We call that fetch data in the component’s onMount. We then store the data into the state and then render the data. What if the query fails. We either retry or give up right? Even to retry we need to call the refetch method again and then again check if we resolved the data. And if we update something we need to re-render that particular component based on the data. So many queries and functions.

Well in this article we will combine all these steps into a single step and make our data querying easily by using an awesome react hook library called ReactQuery by Tanner Linsey.
Let us first set up our React application. For this article I will be using this starter kit template. After cloning the template we will start with the react query installation.
Via NPM
npm install react-query --save
Via CDN
<script src="https://unpkg.com/react-query/dist/react-query.production.min.js"></script>
Next we will wrap our App component with ReactQueryCache to cache our query data. Let us add that.
App.js
import React from 'react';
import * as Containers from './containers/index';
import { BrowserRouter as Router, Switch } from 'react-router-dom';
import { QueryCache, ReactQueryCacheProvider } from 'react-query';

import Layout from './layouts/Layout';

import 'bootstrap/dist/css/bootstrap.min.css';
import './stylesheets/styles.css';

const queryCache = new QueryCache()

const App = () => {
 return (
   <ReactQueryCacheProvider queryCache={queryCache}>
     <Router>
       <Switch>
         <Layout exact path="/" component={Containers.Home} header={true} footer={true}/>
         <Layout exact path="/about" component={Containers.About} header={true} footer={false}/>
         <Layout exact path="/profile" component={Containers.Profile} header={true} footer={true}/>
       </Switch>
     </Router>
   </ReactQueryCacheProvider>
 );
}

export default App;
Next let us display the public user data from github in the profile component using the useQuery hook. useQuery takes these parameters,
- A query key (unique key). (required)
- The asynchronous function that will resolve the data. (required)
- The query options. (optional)
The key is usually like an identifier that will be used to refetch and cache the response. On using this hook, you will receive all the destructed information that you can use in your components.
Let us look at some of the information returned from the hook that we will be using.
- canFetchMore (Boolean) - This value will be true if the data is paginated based on the async function, i.e if you have more 20 values and you receive the first page with 10 values then the canFetchMore will be true because there are 10 more values that can be fetched. After the next 10 values are fetched, it will return false.
- data(any) - This object will contain the resolved data from the async function that will be used to render in our components.
- error(any) - This object will have the error message in its message key. If status is ‘success’ or ‘loading’, error will be null.
- isError(Boolean) - if query fails, set to true else false.
- isFetching(Boolean) - is true until the current data is fetched. Becomes false after the fetching of data (the current page) is done.
- isLoading - is true until the query function is either resolved or rejected, false after that.
- isSuccess - becomes true when the query function is resolved and false when error is thrown.
- status - A text representation of isLoading, isSuccess and isError. Will contain “success”, “loading” or “error”.
In the Profile Container we will add the useQuery hook as follows,
Containers/Profile.js
import React, { Fragment } from 'react';
import UserProfile from '../../components/profile/UserProfile';
import { useQuery } from 'react-query'

const Profile = (props) => {
 const {
   data,
   error,
   isLoading
 } = useQuery('profileData', () =>
   fetch('https://api.github.com/users/SoorajSNBlaze333')
   .then(res => res.json())
 )

 if (isLoading) return <Fragment>Loading...</Fragment>

 if (error) return <Fragment><h1>Oops something went wrong</h1><p>{error.message}</p></Fragment>

 return (
   <div className="w-100 p-4">
     <UserProfile profile={data}/>
   </div>
 )
}

export default Profile;
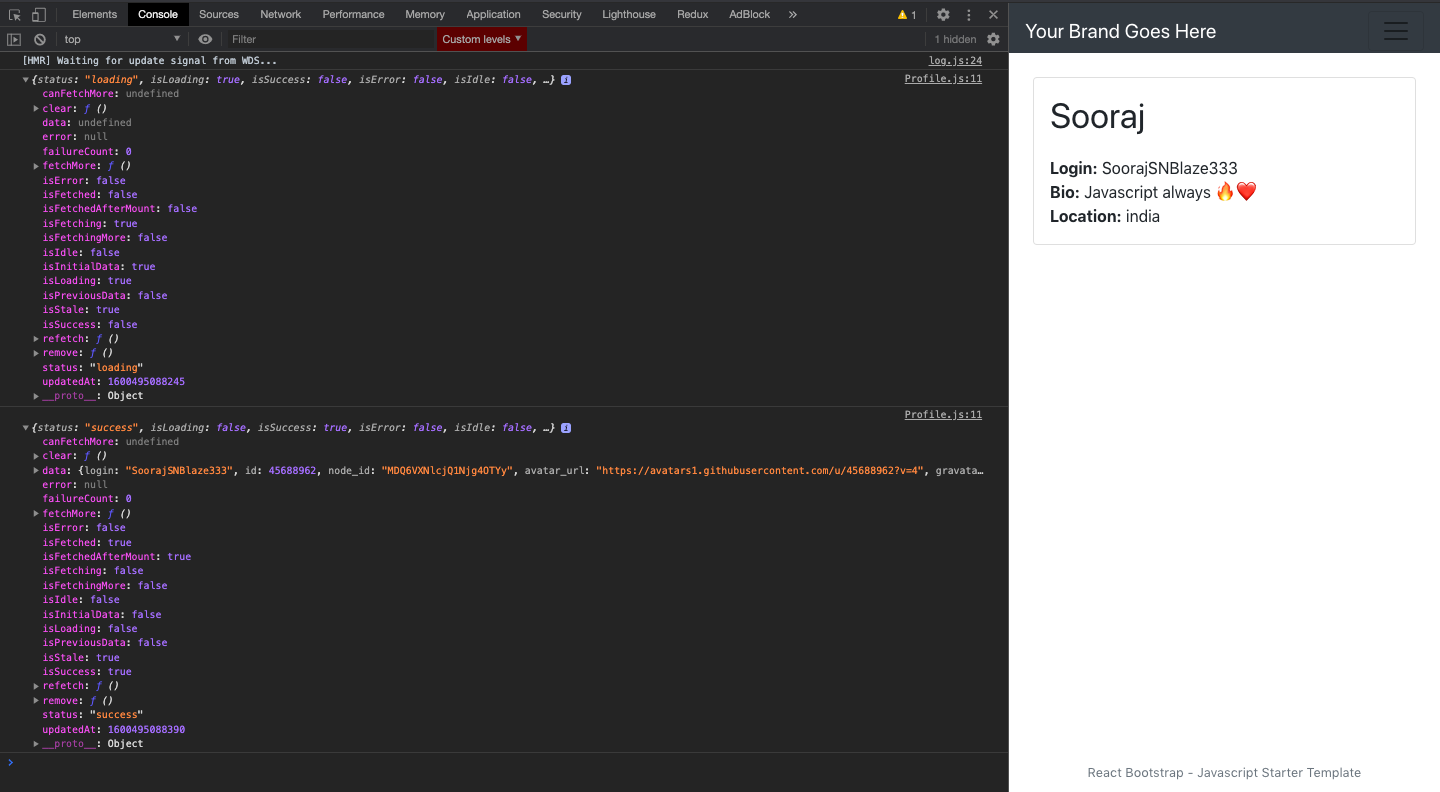
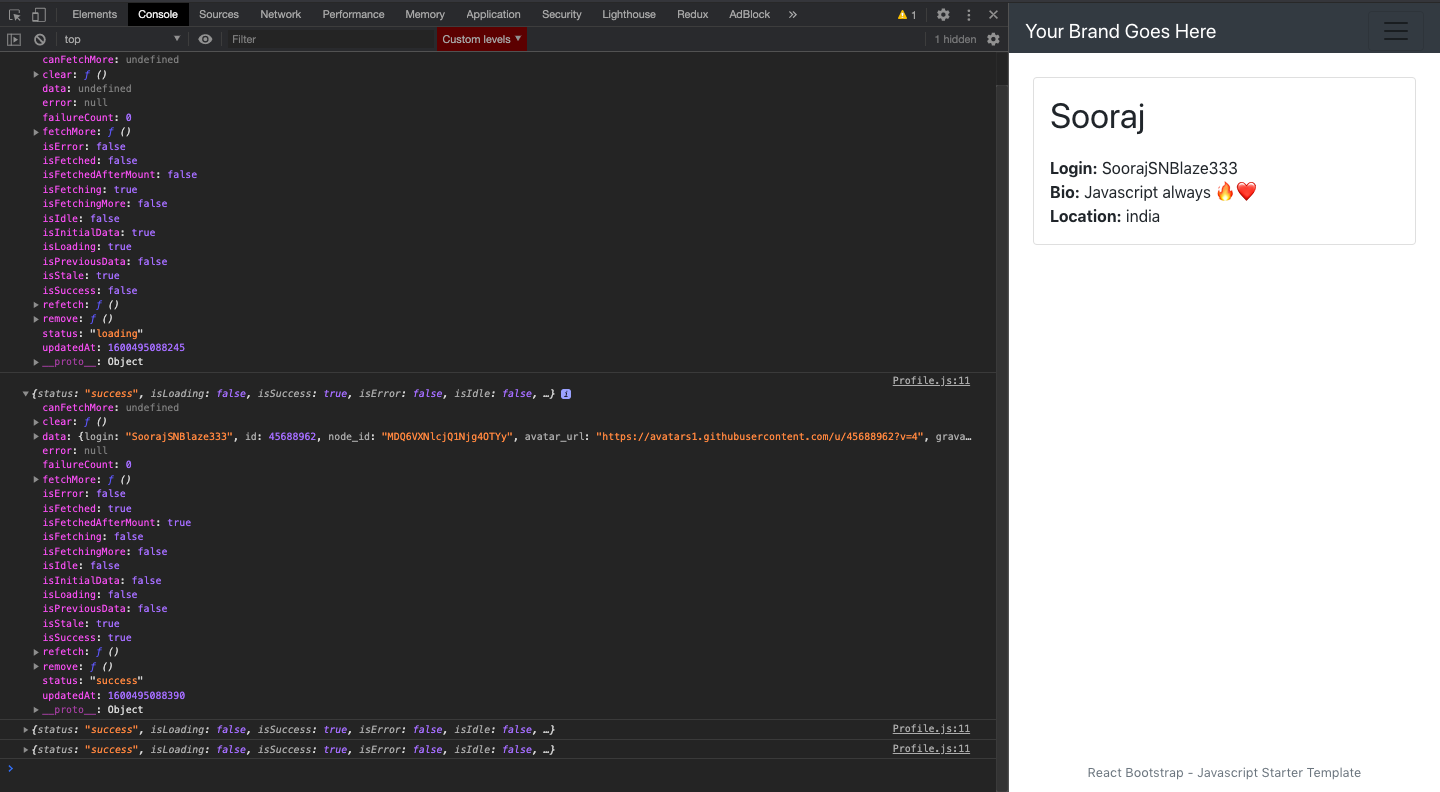
If you now print the query object and run, you will see this output.


Me after thinking of all the possibilities to show the data on UI
If you see that you will see 2 instances of the query objects will be automatically updated for all the states.
Now, if you click on another browser tab or visit another App and come back to this window, you will see that the query request was made again and the data was re-fetched.

This is because of the isStale property of the data. The data that is rendered will be given a query property called stale. The stale queries will be re fetched again when the window is focussed again or the browser is reconnected or the component is mounted. This can be toggled off using the 3 properties below,
 const {
   data,
   error,
   isLoading
 } = useQuery('profileData', () =>
   fetch('https://api.github.com/users/SoorajSNBlaze333')
   .then(res => res.json())
 , {
   refetchOnWindowFocus: Boolean, //refetch when window comes to focus
   refetchOnReconnect: Boolean, //refetch when browser reconnects to server
   refetchOnMount: Boolean //refetch when component mounts
 })

Me after going back to the browser and ReactQuery gives me new data
Another property is the retry on failure. So if a query function is rejected, the useQuery hook will automatically try again 3 times, before throwing the error. You can change this using,
 const {
   data,
   error,
   isLoading
 } = useQuery('profileData', () =>
   fetch('https://api.github.com/users/SoorajSNBlaze333')
   .then(res => res.json())
 , {
   retry: Boolean, //refetch if query fails
   retryDelay: Number //number of times for retry. Default is 3
 })
Also note that the key called failureCount would be incremented for each failed query. This key can be used to show that the UI tried several times to connect to the server or was unsuccessful or successful after n attempts and show the respective messages on UI.
So this is it for the basic set up and usage of the useQuery hook. For deeper explanations you can check out the documentation here. In the next article, we will be going through how to query huge data by paginating and how to use infinite queries to create an infinite scroll.
Up next
Making the right financial decisions in your 20s Skcript
/svr/asynchronous-data-fetching-using-reactquery-part-1-queries/
/svrmedia/heroes/asynchronous-data-fetching-using-reactquery-part-1-queries.png
