

React Apps with Firebase is one of the hottest combinations among web developers. But it's often a challenge automating the deployment process for this since there is no easy way to do this with any CI tool. But not anymore!
React apps are one of my favorites when I need to build with Firebase. The main reason is the simplicity of the framework and the community support that backs it. But when it comes to continuous deployment, it’s always a big challenge. I always used to use Netlify for that since it supports automatic deployment with Github Push.
Thankfully Firebase recently came up with their own Github Actions workflow for deploying directly to Firebase Hosting on your trigger. So let’s get started with it!
Setting Up React App
For this demo, I’ve used create-react-app to create a simple new React app that I’ll be publishing to Firebase Hosting.
Creating a React app with this tool is pretty straightforward, all you need to do is to run the below script,
npx create-react-app firebase-hosting-demo
This will create a folder named firebase-hosting-demo in your project folder and installs all the dependencies. The repo is generated along with the git integration so we don’t have to initialize it separately.
You can also follow the next steps in your old react app project.
Setting up Github Repository
This is one of the most common and important steps software developers do when they handle any project. Still, I would like to go through this for the beginners.
Create a new GitHub repository by visiting this link: https://repo.new/.
Once you’ve created the remote repository in GitHub, now it’s our turn to push the local repository to GitHub. By default the React create app will initialize a git repository, but in case if it didn’t or you’re using a React Project created by a different tool use the following command to initialize a git repository inside your folder.
git init
Once you initialize the repo, you need to add all the files for git to track and then commit.
git add .
git commit -m "Initial Commit of Firebase Hosting Demo"
Finally, now that the changes and new files are committed, we can push it to our remote repo. But before pushing you need to add the remote repo to your local repository and then push it.
git remote add origin <YOUR REPO URL HERE>
git push origin master
Setting up Github Actions
Now that we’ve configured the local and remote repo, let’s create the new Github action configuration to auto-deploy to firebase.
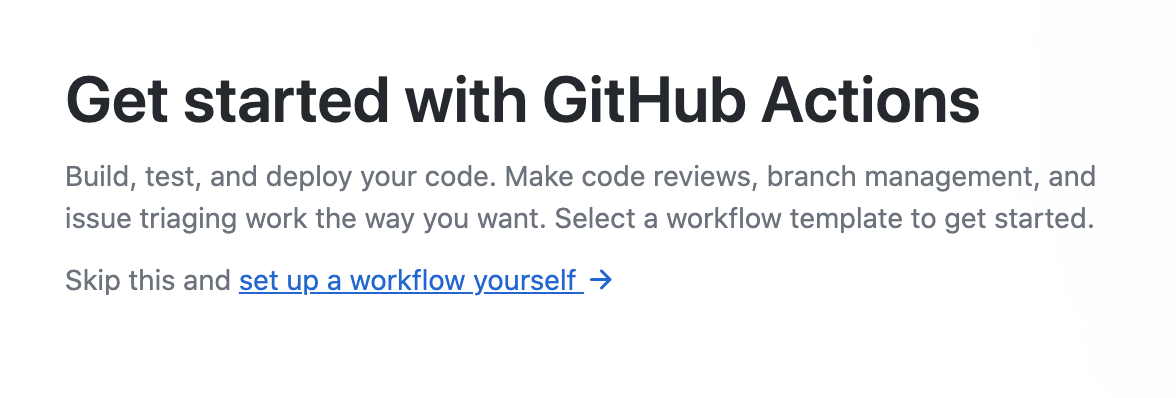
Navigate to the Actions tab in your GitHub repo and click on the “set up a workflow yourself”.
And in the file, copy the below configuration and commit.
name: Deploy to Live Channel

on:
  push:
    branches:
      - master

jobs:
  build_and_preview:
    runs-on: ubuntu-latest
    steps:
      - uses: actions/checkout@v2
      - uses: actions/setup-node@v1
        with:
          node-version: '12'
      - run: npm install
      - run: npm run build
      - uses: FirebaseExtended/action-hosting-deploy@v0
        with:
          repoToken: "${{ secrets.GITHUB_TOKEN }}"
          firebaseServiceAccount: "${{ secrets.FIREBASE_SERVICE_ACCOUNT }}"
          expires: 30d
          projectId: fir-sample-b5510
          channelId: live
According to this workflow, the React app is installed and built with the following config
       - uses: actions/setup-node@v1
        with:
          node-version: '12'
      - run: npm install
      - run: npm run build
And the compiled code is published to Firebase with the below config.
      - uses: FirebaseExtended/action-hosting-deploy@v0
        with:
          repoToken: "${{ secrets.GITHUB_TOKEN }}"
          firebaseServiceAccount: "${{ secrets.FIREBASE_SERVICE_ACCOUNT }}"
          expires: 30d
          projectId: fir-sample-b5510
          channelId: live
If you notice the above configuration, the FIREBASE_SERVICE_ACCOUNT is a part of the secret since it cannot be exposed. In the following steps, we’ll see how to configure the service account.
Configuration of Firebase Service Account in Github
To make Github push to Firebase, you need to configure the service account. But to extract the service account, follow these steps.
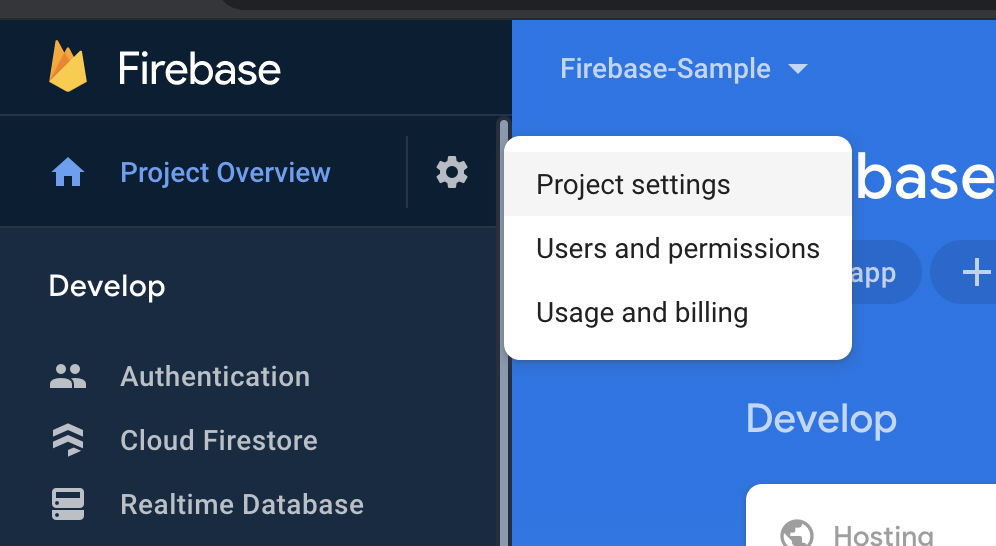
Navigate to Project Settings from the sidebar.
Click on the Service Accounts tab on the settings page

Click on the “Generate new private key” Button to generate a new one
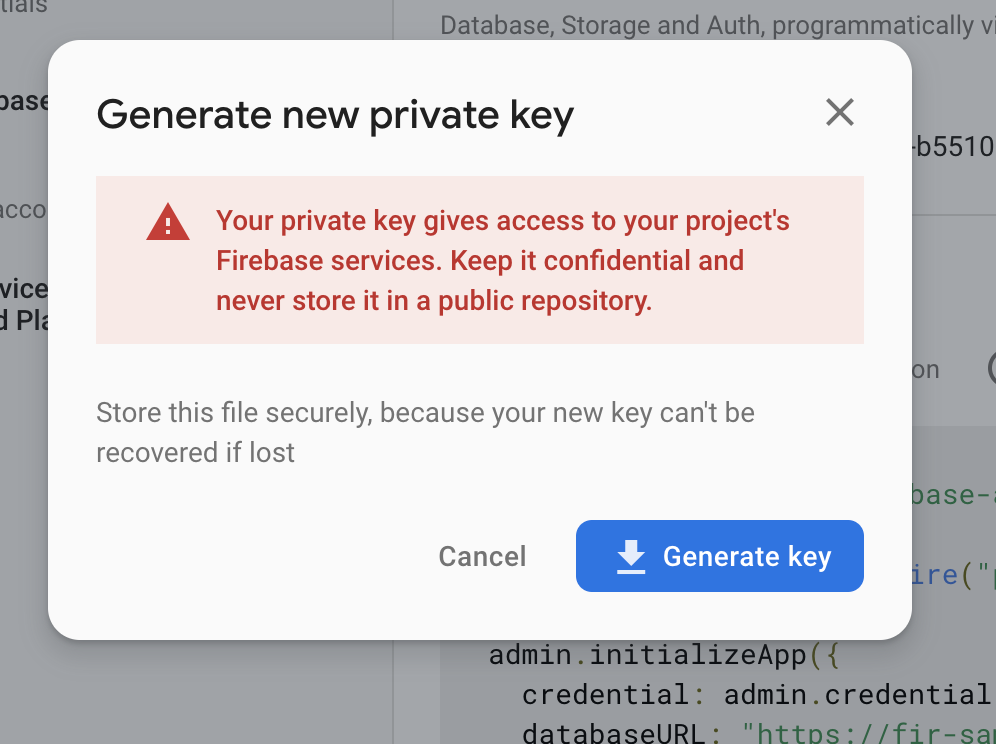
Copy the contents of the downloaded file.
Navigate to your GitHub repository’s settings page. And open the secrets section from the sidebar
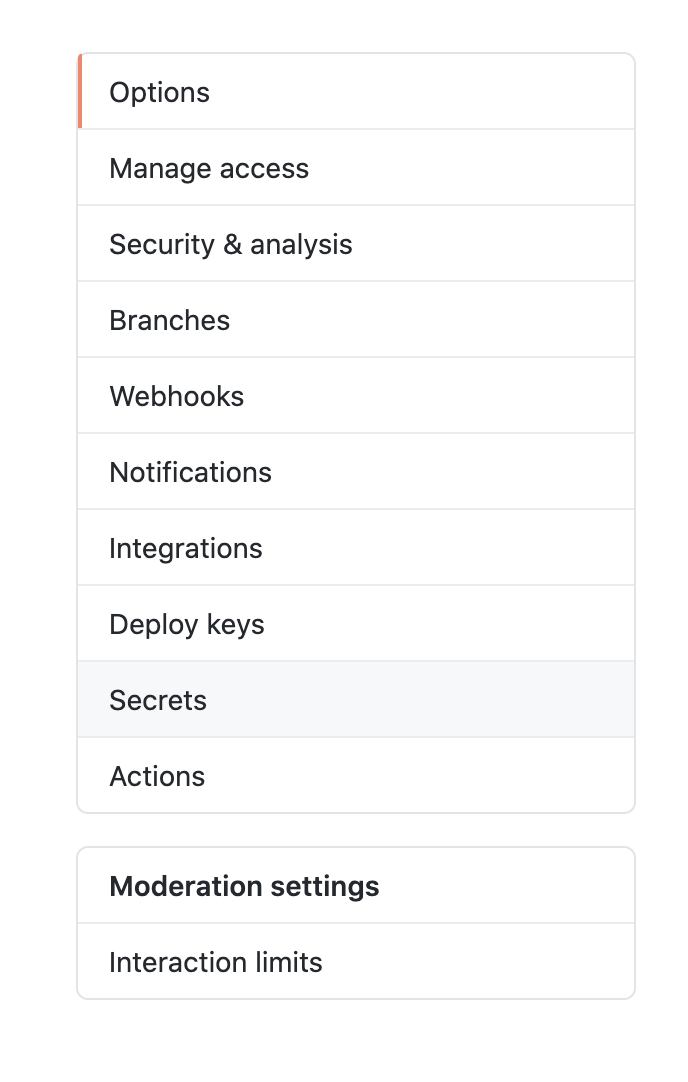
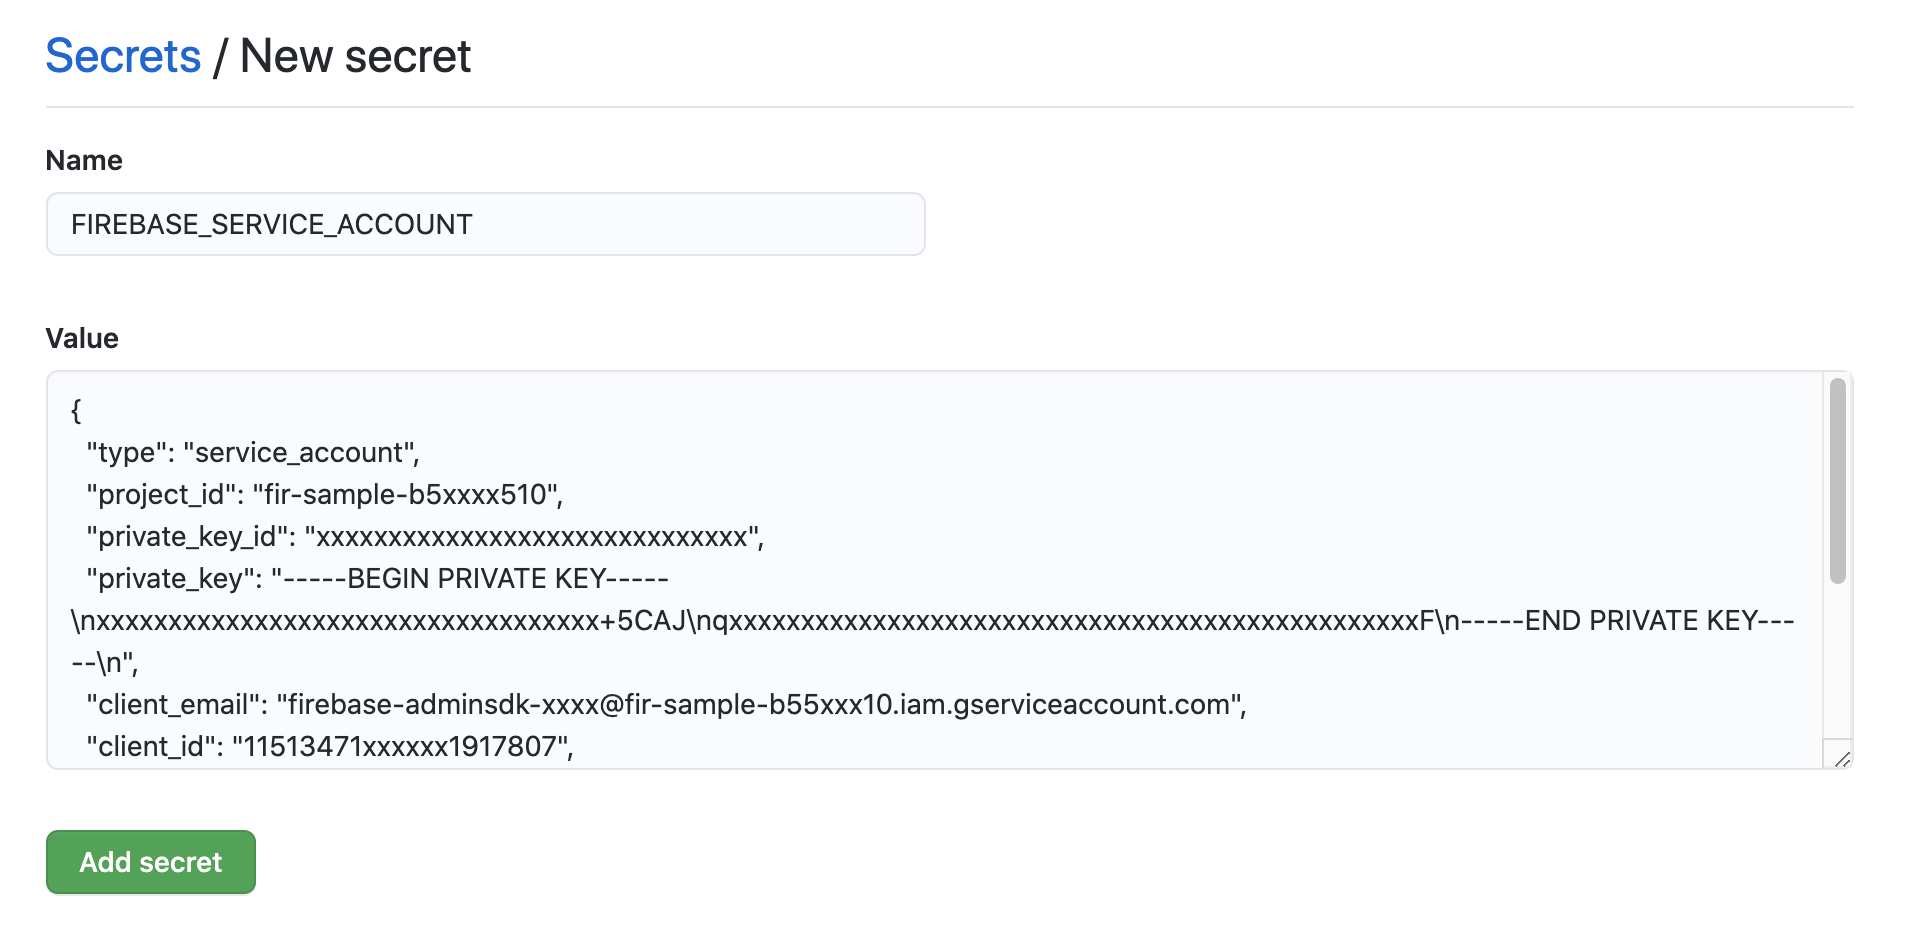
Click on the “New secret” button.

The name of the new secret should be FIREBASE_SERVICE_ACCOUNT and the value should be the contents of the firebase service account JSON we downloaded in the previous steps
After saving, we’re all set to auto-deploy to firebase hosting for every push to your GitHub repository.
I’m super excited about this workflow since it will reduce a lot of effort required to compile locally every time and then push it to Firebase hosting. In my next article, I’ll cover how to use Firebase hosting’s preview channels that recently launched. Stay tuned!
Up next
Good organizational culture is not a foosball table