Have you heard about chatbots? Pretty sure you have! Rasa is a powerful Python framework used to build chatbots. Let’s see how you can expose Rasa chatbot dialogs to a web server using Flask!
In this blog, you’ll learn how to interface with Rasa via Flask. Read on!
To get started with Rasa, first you need to install Rasa by executing the code below in your command line application:
pip install rasa
After installing Rasa, to create a new project use, rasa init --no-prompt. This will create a basic template of a chatbot.
Now just simply run the command, rasa train. This will train your chatbot.
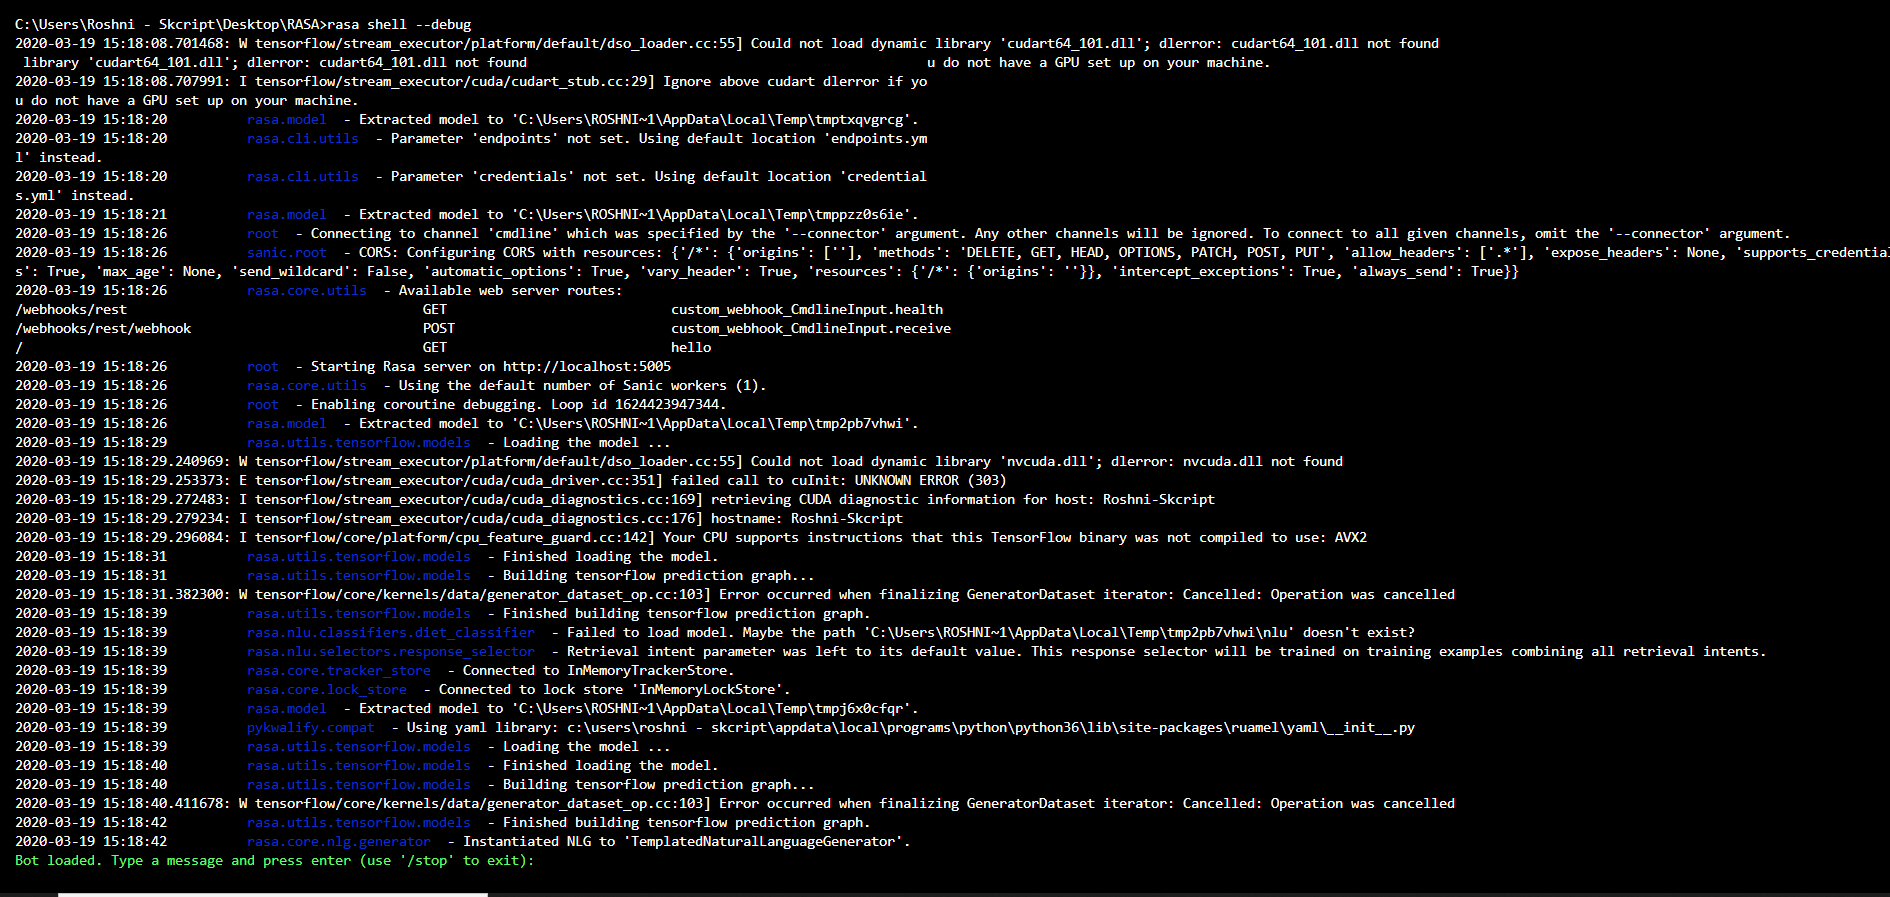
After training the chatbot run the command rasa shell --debug

After executing the command you can see something like this. This is the Rasa shell where you can test your chatbot.

Type some basic commands like “hi”, “hello”, “bye”. This will give the response that you defined in the domain.yml file.
Looks like everything is fine in our shell!
Let’s see how we can run the Rasa server in our local machine. This Rasa server will return all the responses in the form of a JSON response. To run the Rasa server use this command,
rasa run -m models --enable-api
After running this command you can make HTTP requests in http://localhost:5005
Setting up our Flask server:
Install Flask using the command,
pip install Flask
from flask import Flask, redirect, url_for, request, render_template
import requests
import json
The above code imports all the necessary modules to make all HTTP requests.
On our website, we are going to have a simple form that gets the text from the user and gives the response to the user.
Create a folder called “Template”, inside the folder create a ”index.html” file. The HTML will look like this,
<html>
  <head>
    <title>CHATBOT</title>
  </head>
  <body>
    <h1>CHATBOT</h1>
    <form>
      <label for="text">You:</label><br>
      <input type="text" id="text" name="text"><br>
      {{val}}
    </form>
  </body>
</html>
Now let’s integrate this form on our site.
app = Flask(__name__, template_folder= 'Templates')
context_set = ""

@app.route('/', methods = ['POST', 'GET'])
def index():
    return render_template('index.html', val=val)
The above code will render a form on the homepage.
val = str(request.args.get('text'))
The above line will get the text parameter entered in the form and convert it as a string.
After getting the string from the user text, convert it into the JSON format.
data = json.dumps({"sender": "Rasa","message": val})
Now make the post request to our Rasa server.
res = requests.post('http://localhost:5005/webhooks/rest/webhook', data= data, headers = headers)
It responds with JSON. Something like this
[
    {
        "recipient_id": "default",
        "text": "Hey"
    }
]
Let’s wrap it up!
from flask import Flask, redirect, url_for, request, render_template
import requests
import json

app = Flask(__name__, template_folder= 'Templates')
context_set = ""

@app.route('/', methods = ['POST', 'GET'])
def index():

if request.method == 'GET':
  val = str(request.args.get('text'))
  data = json.dumps({"sender": "Rasa","message": val})
  headers = {'Content-type': 'application/json', 'Accept': 'text/plain'}
  res = requests.post('http://localhost:5005/webhooks/rest/webhook', data= data, headers = headers)
  res = res.json()
  val = res[0]['text']
  return render_template('index.html', val=val)

if __name__ == '__main__':
  app.run(debug=True)
The whole code will look like this in the final part. Now in your terminal run app.py
Hope you found this blog useful, now you can integrate your Rasa chatbot with your Flask server.
Up next
5 Team Activities You Can Play Online To Boost Remote Productivity Skcript
/svr/rasa-flask-together-forever/
/svrmedia/heroes/rasa-flask-together-forever.jpg
