

Here’s a quick fix solution for training your Deep Learning models on the Cloud - with a few tweaks, train the model to work your way!
In 2012, convolutional neural networks (CNN) - a type of artificial neural network blossomed on the Imagenet challenge (Image recognition challenge) in a way that no one had expected. It outperformed the runner-up by over 10% Top-5 accuracy. One of the main reasons this model performed well is attributed to the increase in the computation power. CNNs have been around since 1998. They were used to detect handwritten images back then.

Now models have grown a lot more complex and also deep learning has become a lot more accessible. The common norm now is to train models on GPUs (Graphical Processing Units) because they are capable of parallel computations and outperform CPUs by a large margin. But the drawback with GPUs is that they are expensive to own personally. An Nvidia Titan Xp costs about $1200. For this, Nvidia has come up with the GPU server solutions. These GPUs are widely being used by a lot of Cloud vendors. Google also has come up with their own hardware called the TPUs (Tensor Processing Units).
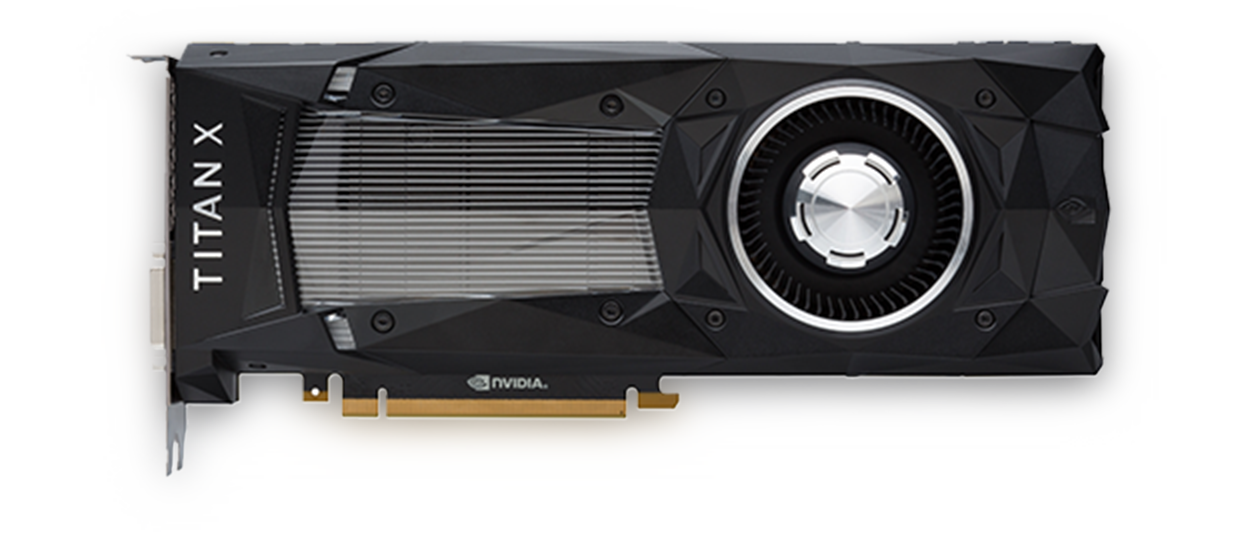 Nvidia TitanXp
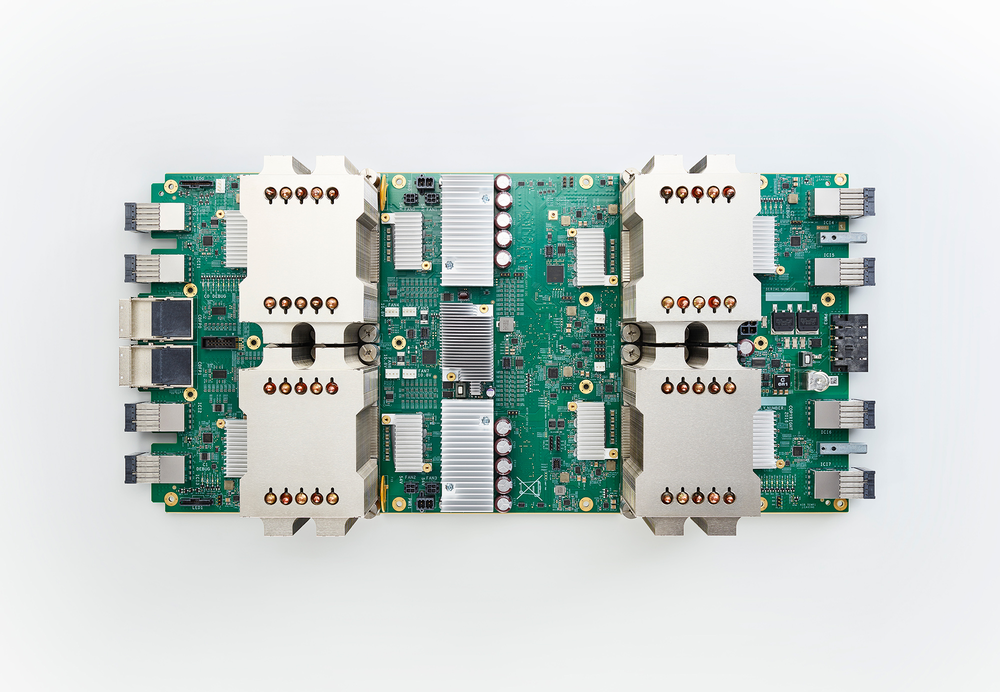 Google’s TPU
Training models in cloud is very convenient since they are easily accessible and also we can circumvent the engineering bottlenecks. Here, we’ll see in detail about the popular and most widely used Amazon Web Services, Google Cloud Platform and Floydhub.
Amazon Web Services (AWS)

AWS is the market leader for cloud services and their GPU instances are no less. One of the main advantages with AWS is that, there is a wide range of community instances to choose from.
Step 0) To use GPU instances, you need to request to use them. Under the support drop down in the AWS console. See the image below and give the necessary details. The approval for the request might take around 48 hours.

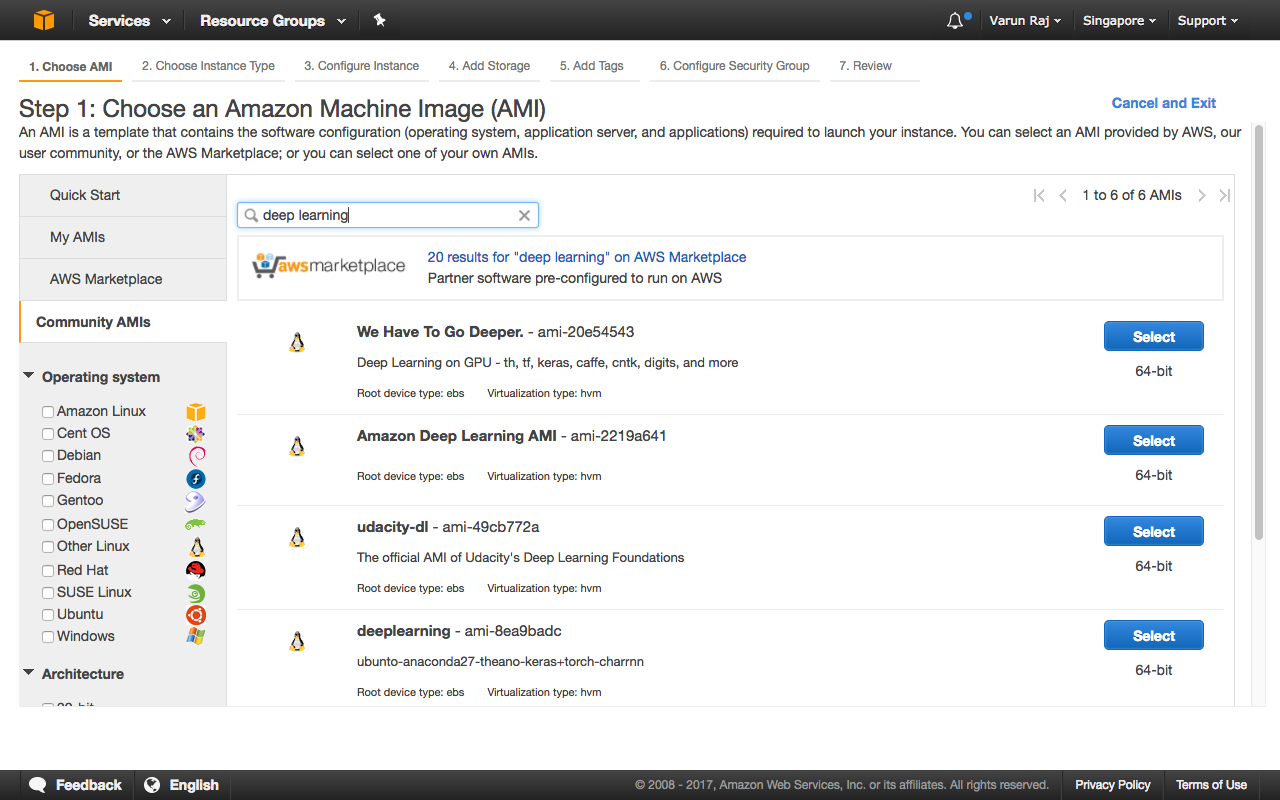
Step 1) Choose your AMI On the left tab, click on the community instances to see the other instances. From the wide range of choices choose any one of the choices available.
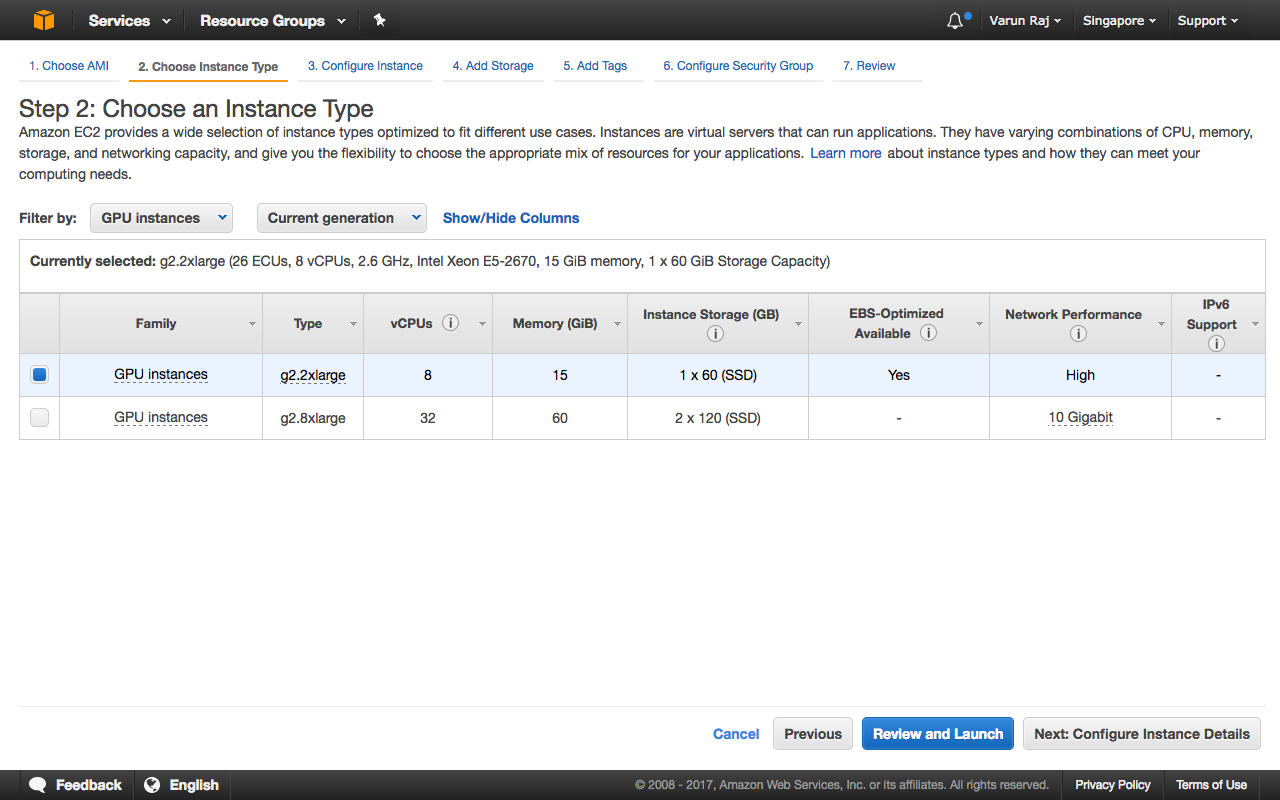
Step 2) Choose Instance type In this step choose GPU instances.
Step 3) Configure the instance Step 4) Add Storage Step 5) Add tags In the above steps, configure each of them according to your requirement.
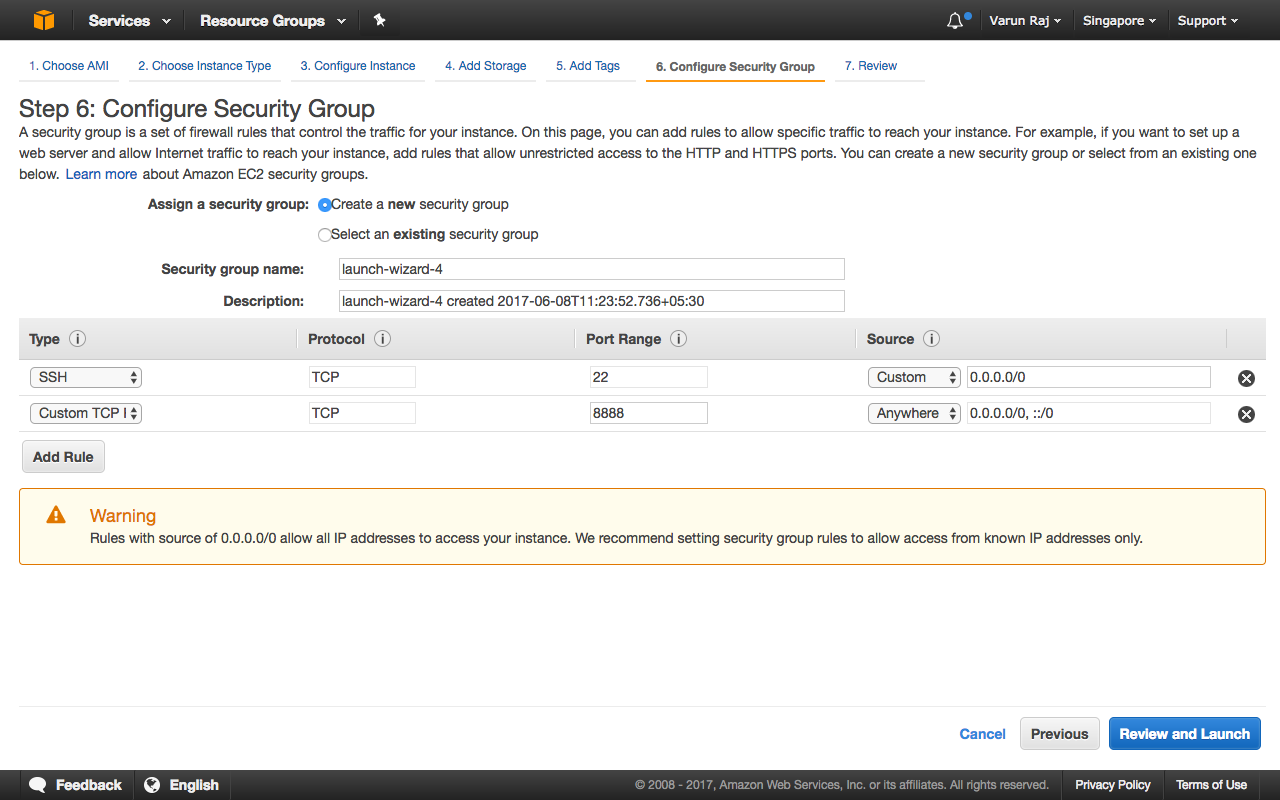
Step 6) Configure Security Group Here we configure the ports and IP addresses on which we can listen to the server. You can just use the SSH shell to run your models. We will discuss later on how you transfer your model to the instance.
Step 7) Review your instance Go through your instance setting and check if everything is up to your requirements.
Step 8) Choosing the key pair If you have used AWS before and have an existing key pair to connect to your instance, you can use it for this instance as well. If you are a new user choose a new key pair file and download it. Keep this file in a secure location.

One of the easiest and most preferred methods is to push your models on to version control platforms like GitHub or BitBucket. Then you can clone the code onto your instance.
Other method to transfer files is to use SCP tool.
scp -i <path of the .pem file> <path of the file you would like to transfer> <IP address of the instance>:~/data/
AWS also has a plethora of other services that you can use - you can set cloudwatch monitors to track your usage and alarms to alert in case your usage is exceeding.
Google Cloud Platform (GCP)

During the recent I/O ’17 Google has rebranded itself as an AI first company and also unveiled their TPU cloud platform for training deep learning models. TPUs are currently not available for public access. Google has been pushing for more developers to use their platform and also made GPUs available on their platform.
In the GCP console, under Computer Engine select VM instances. Here you will be presented with a page to configure your instance.
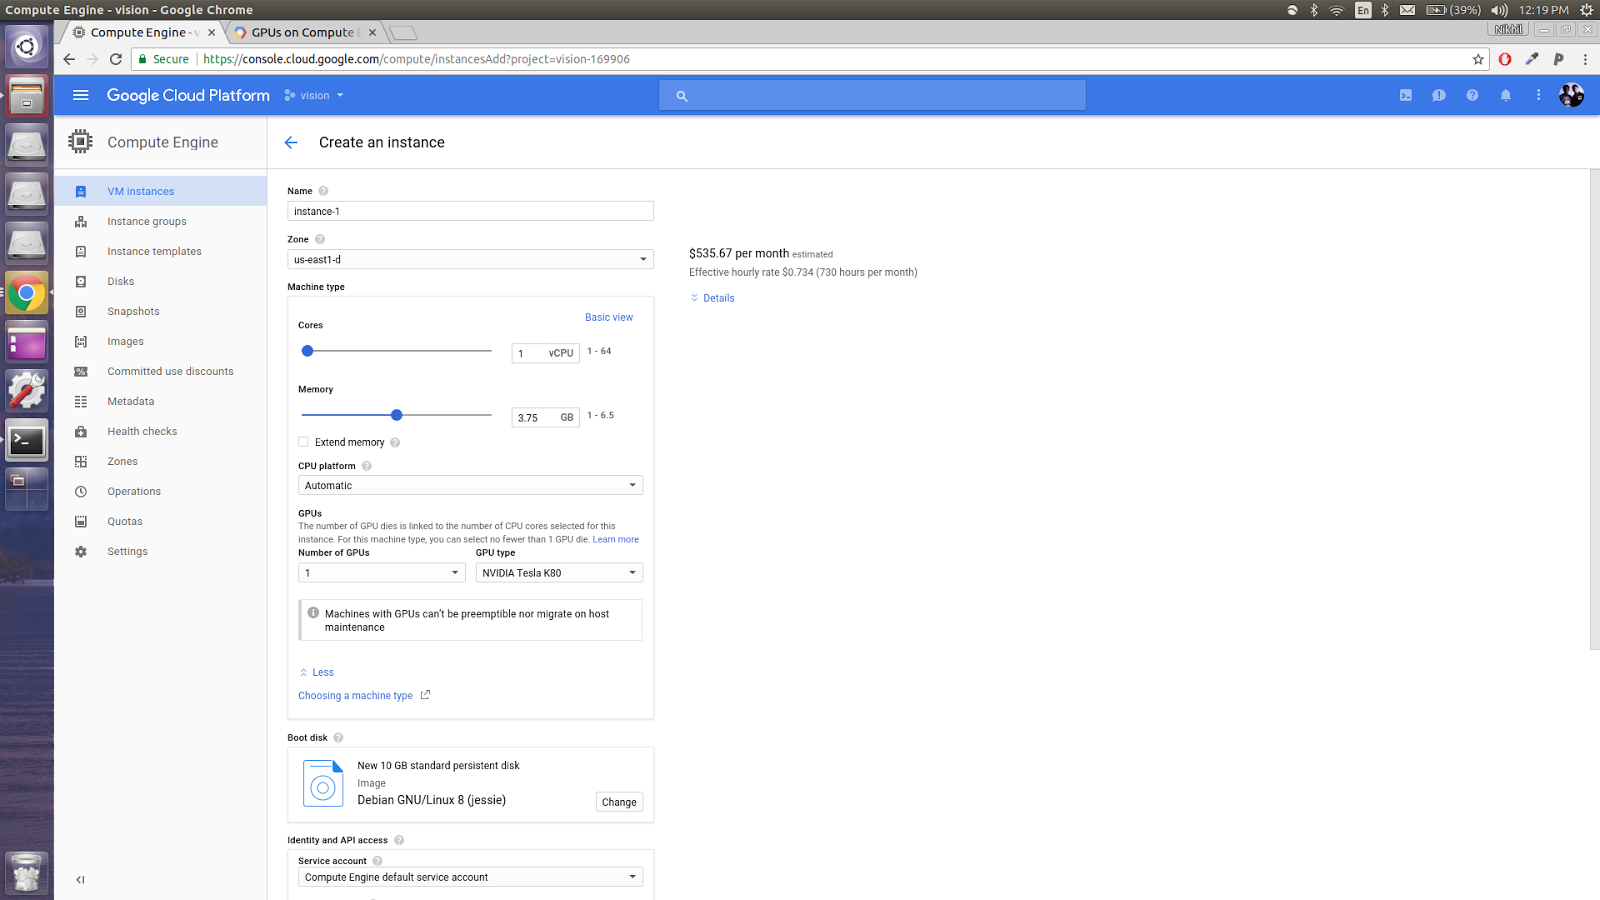
When you try to create the instance, you will receive an error stating that the maximum limit of 0 GPUs has reached. Under the Go, A Google Form will be presented to you, through which you can request for more GPU. Once you fill the form and Google verifies it, create instance again.
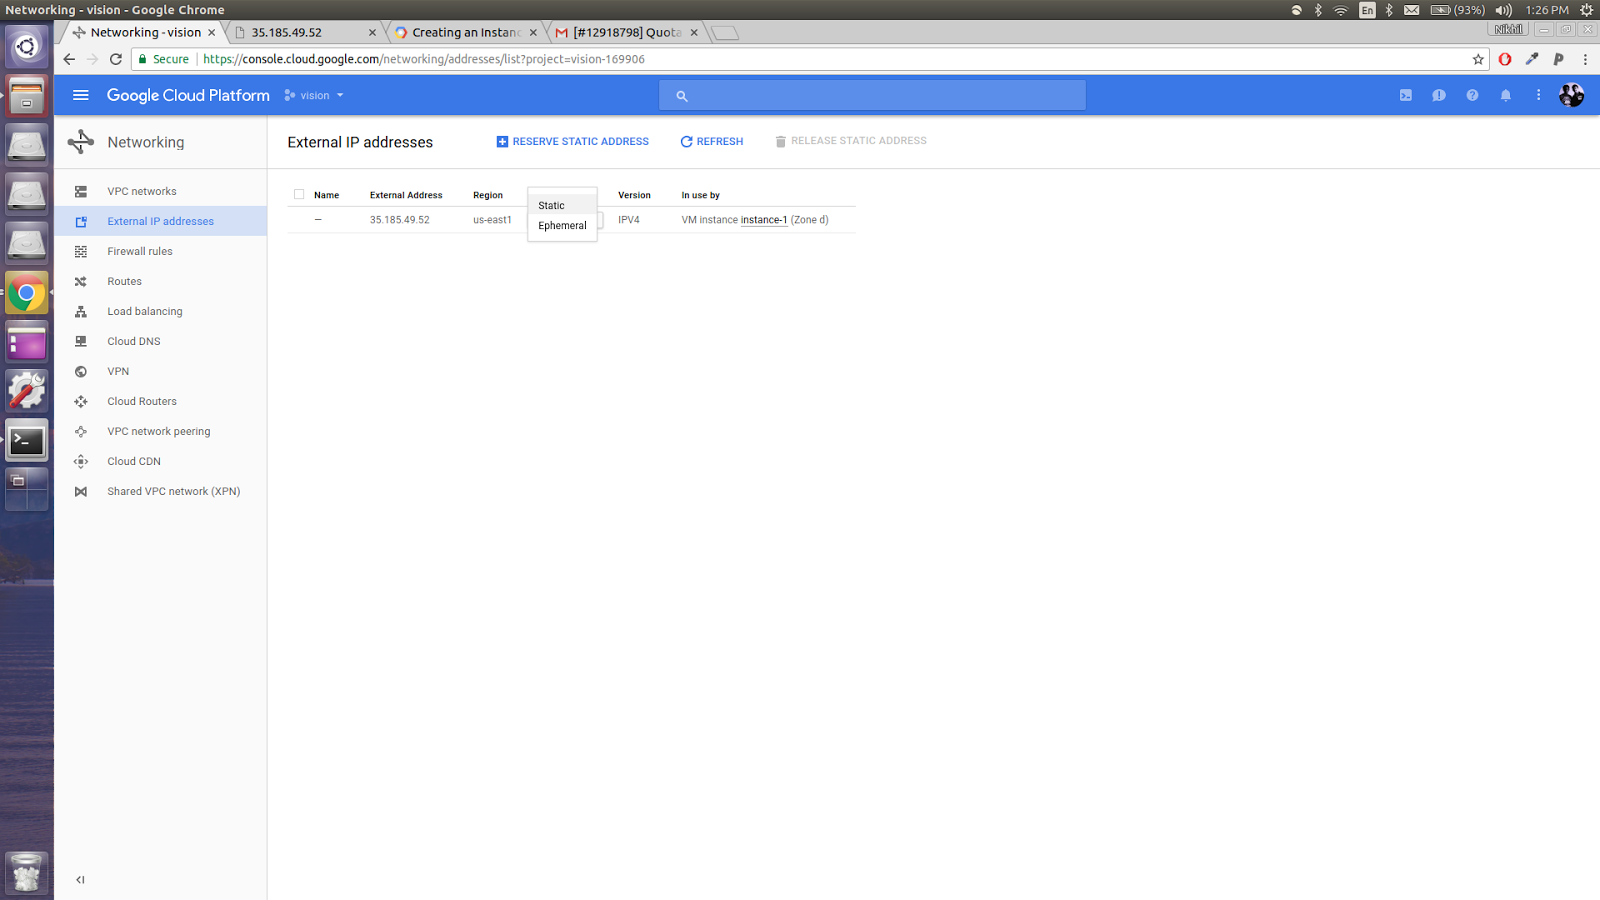
After you create your instance, create a static IP. To do this, go to networking. Under networking choose external IP addresses and change the IP type of your instance to static. We do this in order to transfer files from local source to the cloud.
Now to the cumbersome part of installing all the dependencies that are required for running deep learning models on the instance. Open the SSH terminal from the VM Instances tab. In the terminal you are required to install all the required libraries. This tutorial from Nvidia can help you install all the dependencies. Installing cuDNN is a little tricky since you have to sign-up on Nvidia. After downloading the cuDNN file, upload the file to the cloud using the interface provided in the terminal for uploading files to the instance.
Now you upload your code to the instance and, voila! You can start running your deep learning models in the cloud. Transfer the files to the cloud using the tools mentioned above in AWS or else using the options provided in the terminal itself.
Floyd Hub
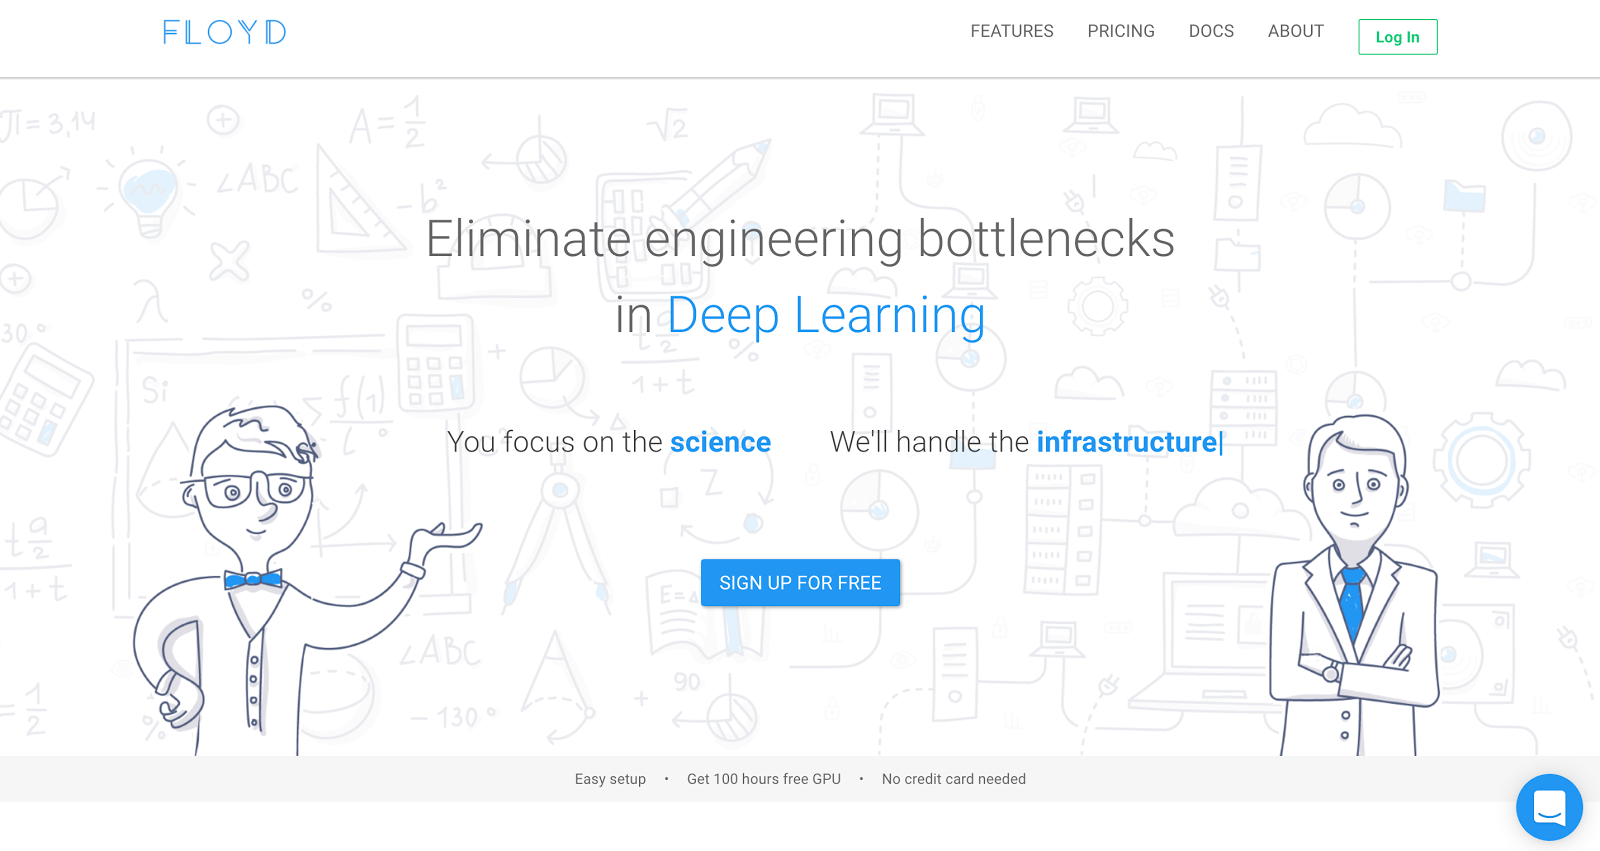
This is a new service that offers deep learning solutions at very cheap prices. It is also one of the simplest ones to use. The signup process for FloyHub is very simple. You get 100 hours of GPU Instance usage for free without the requirement of a credit card.
Install their pip client to interface with FloydHub.
sudo pip install -U floyd-cli
Use command line to login.
floyd login
Creating a new project is very simple. In the directory you would like to run the model, run the following command.
floyd init <project_name>
Remove the <> brackets and just type your project name.
Once the project is initialized, you can run your models in FloydHub. The command line client uploads all the files in the directory to FloydHub to run them in the cloud. The command below will run the model on a Jupyter notebook along with GPU support on Tensorflow 1.0
floyd run --gpu --mode jupyter --env tensorflow-1.0
If you do not have a notebook, you can just run your code, remove the –mode argument. If you need to tweak your models while training them just use the terminal that is provided in the Jupyter notebook.
Now you have the tools to create powerful models. Go ahead and solve the problems that matter!💪
Up next
Meet the Nerd 2.0 - Hareessh Prabhu